Large-format tiles: what you need to know before installation
Large-format tiles can create a clean, modern finish with fewer grout joints, but they demand careful preparation, handling and setting out.
Flat surfaces matter more
The larger the tile, the more obvious small deviations in the wall or floor become. A surface that seems acceptable for small tiles may need additional correction before large-format tiles are installed.
Checking flatness early reduces the risk of uneven edges and helps the finished surface read as one continuous plane.
For anyone researching large format tile installation, the most useful approach is to look at the practical conditions behind the finish rather than treating the job as a single generic task. Large-format tiles exaggerate small variations in the substrate because a long rigid tile cannot follow dips and humps without creating lipping or poor coverage. Walls and floors should therefore be checked for flatness before the installation date rather than corrected reactively as each tile is fixed. Tile bow and manufacturing tolerances should also be considered when planning patterns and joint widths. The larger the unit, the more important controlled setting out becomes. This is where an experienced tiler can add value: not by using more technical language, but by checking the details that affect the finished surface and explaining the options before work is committed. For a homeowner, the practical test is simple: the proposed method should make sense for the exact room, the chosen tile and the way the area will be used, rather than relying on a one-size-fits-all rule.
Key points
- Assess walls and floors carefully
- Plan movement joints
- Use suitable adhesive
- Allow for safe handling
- Check tile calibre and shade
Handling and cutting
Large porcelain tiles can be heavy and brittle before installation. Moving, cutting and drilling them requires suitable equipment and enough working space.
Complex cuts around niches, sanitaryware and sockets should be considered during layout so weak slivers and awkward details are avoided where possible.
The specification also needs to work as one system. That means the tile, substrate, preparation products and installation method should be considered together. Big porcelain units can be heavy, brittle before fixing and awkward to manoeuvre through finished rooms. Specialist cutters, rails, drills, suction frames and enough clear working space may be needed depending on the size. Large cut-outs around sockets, niches and sanitaryware create stress points and should be planned carefully. Safe lifting and handling is part of achieving an accurate finish, not just a logistical issue. This is where an experienced tiler can add value: not by using more technical language, but by checking the details that affect the finished surface and explaining the options before work is committed. For a homeowner, the practical test is simple: the proposed method should make sense for the exact room, the chosen tile and the way the area will be used, rather than relying on a one-size-fits-all rule.
KB Tiling tip
Order sensible spare material, especially when tiles are large or have a directional pattern.Achieving consistent joints
Accurate spacers and levelling systems can assist the installation, but they do not replace a flat substrate or correct adhesive coverage.
Joint widths should also follow the tile manufacturer's guidance and allow for natural variation in the tiles themselves.
Good setting out and early decisions usually make the finished result easier to control, because problems are cheaper to solve on paper than after fixing has started. Levelling clips can help control adjacent edges but cannot compensate for an uneven base or inadequate adhesive coverage. The fixing method should aim for the coverage required by the tile, substrate and location, especially in wet or heavily loaded areas. Joint width should suit the tile's calibration and system requirements rather than being reduced purely for appearance. Movement joints remain necessary even when the design goal is a seamless visual effect. This is where an experienced tiler can add value: not by using more technical language, but by checking the details that affect the finished surface and explaining the options before work is committed. For a homeowner, the practical test is simple: the proposed method should make sense for the exact room, the chosen tile and the way the area will be used, rather than relying on a one-size-fits-all rule.
Common mistakes to avoid
Most avoidable problems begin with an assumption that was never checked. Common examples include choosing very large tiles without checking access into the room, assuming levelling clips will fix a wavy wall or floor, and using an offset pattern that conflicts with the tile's natural bow. Each can look minor at the planning stage, yet any one of them can change the layout, the amount of preparation or the time needed to complete the work. The safer approach is to surface those decisions early and write them into the agreed scope. That gives the installer a clear standard to work to and gives the client something meaningful to compare when reviewing quotations.
Other mistakes are more likely to show up once work is under way: under-ordering because each damaged large tile represents a significant area, planning complex cut-outs too close to tile edges, and trying to create zero-width joints. These are not reasons to overcomplicate a straightforward tiling project. They are reminders that a durable finish depends on a chain of small decisions being made in the right order. If something important changes after the work starts, stop and reassess the effect on materials, preparation, finished levels and programme rather than forcing the original plan to fit a different situation.
Key points
- choosing very large tiles without checking access into the room
- assuming levelling clips will fix a wavy wall or floor
- using an offset pattern that conflicts with the tile's natural bow
- under-ordering because each damaged large tile represents a significant area
- planning complex cut-outs too close to tile edges
- trying to create zero-width joints
A sensible way to plan the work
A sensible sequence keeps the project understandable. Start by measure the room and the route into it, then check substrate flatness and correct it before fixing. Once those basics are known, inspect tile size, bow, calibre and directional pattern. That order matters because design choices are easier to judge when the physical condition of the room is already understood. It also reduces the chance of buying materials for a layout that later has to change. Before fixing starts, the client and tiler should be able to describe the intended finish, the preparation included and the main details that need particular attention.
From there, dry-plan the main grid and focal cuts, confirm the handling and cutting method, and finally use the specified adhesive, coverage and joint arrangement during installation. Keeping this sequence visible is especially useful on renovations where several trades are involved. Tiling often sits between preparation work and final fitting, so unclear responsibility can create delays. A short written scope, a few marked setting-out lines and photographs of concealed preparation can be more valuable than a long informal conversation because everyone can refer back to the same decisions.
Key points
- measure the room and the route into it
- check substrate flatness and correct it before fixing
- inspect tile size, bow, calibre and directional pattern
- dry-plan the main grid and focal cuts
- confirm the handling and cutting method
- use the specified adhesive, coverage and joint arrangement during installation
Questions worth asking before work begins
A good pre-start conversation should answer practical questions rather than simply confirm a date. Ask: How flat does the substrate need to be for this tile? Can the tiles physically reach the room safely? What joint width suits the product? Clear answers help separate what is included from what is assumed. They also make it easier to identify where another trade, supplier or product manufacturer needs to provide information before the tiler can proceed.
It is also worth asking: Is the chosen pattern suitable for the tile's bow? How many spare tiles should be ordered? How will large cut-outs around fittings be handled? The aim is not to interrogate the installer; it is to make the scope transparent. A professional response should explain the reasoning in plain English and, where a product-specific decision matters, point back to the relevant manufacturer's instructions. That is a stronger basis for a project than relying on a vague promise that everything will be 'fine'.
Key points
- How flat does the substrate need to be for this tile?
- Can the tiles physically reach the room safely?
- What joint width suits the product?
- Is the chosen pattern suitable for the tile's bow?
- How many spare tiles should be ordered?
- How will large cut-outs around fittings be handled?
What this means for projects in Essex
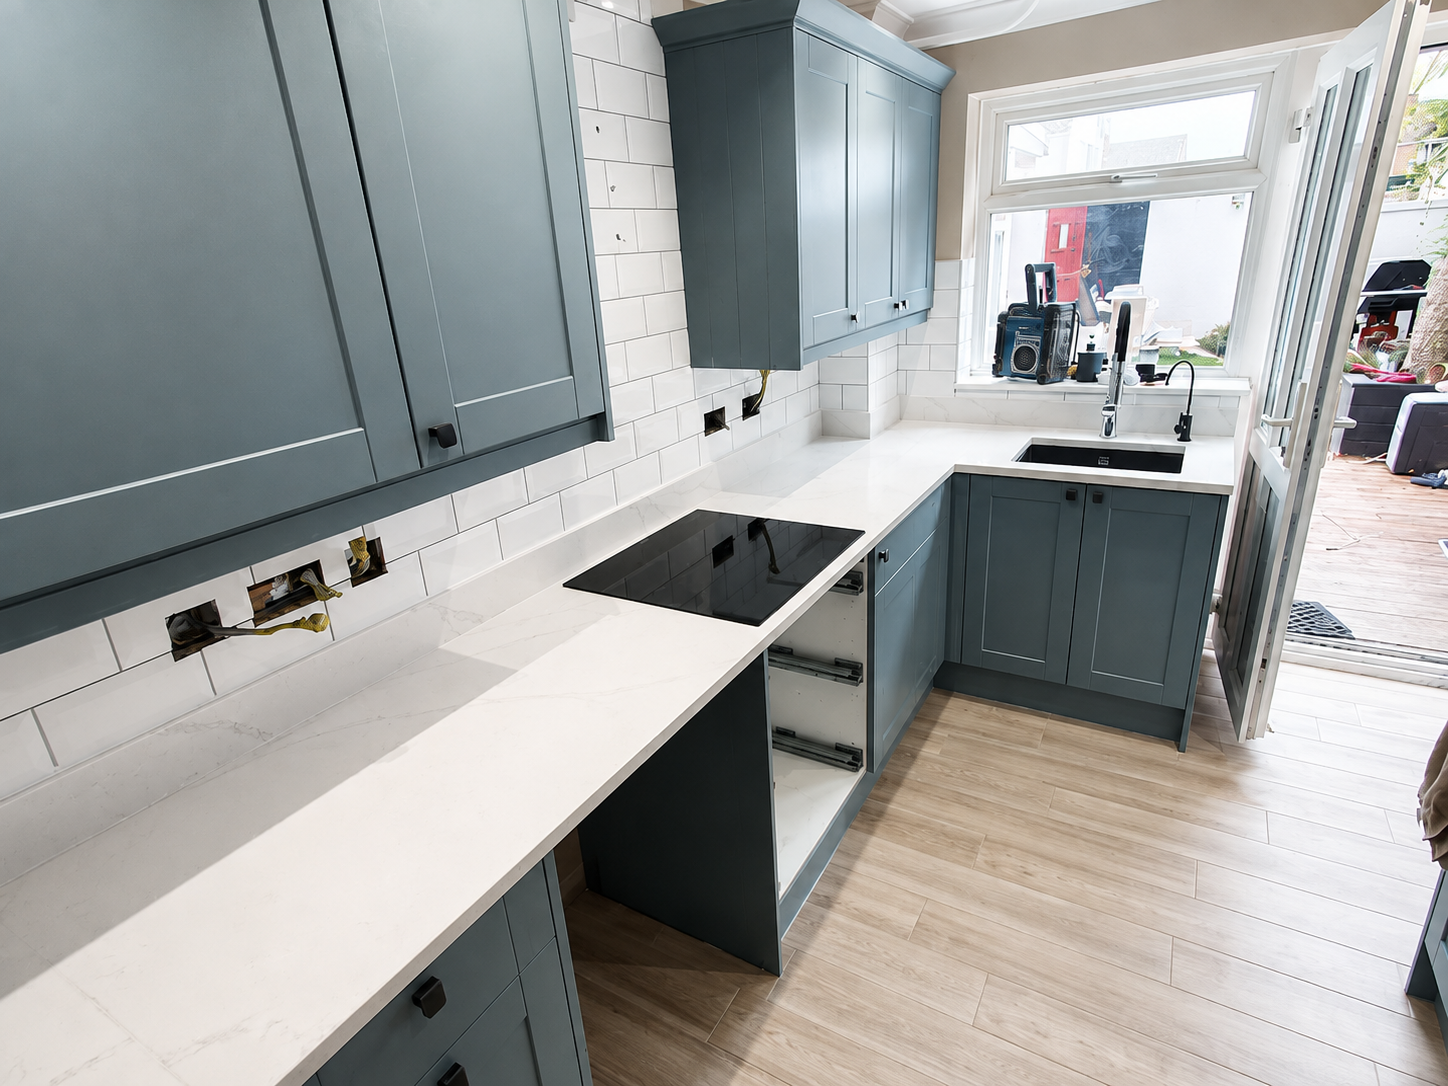
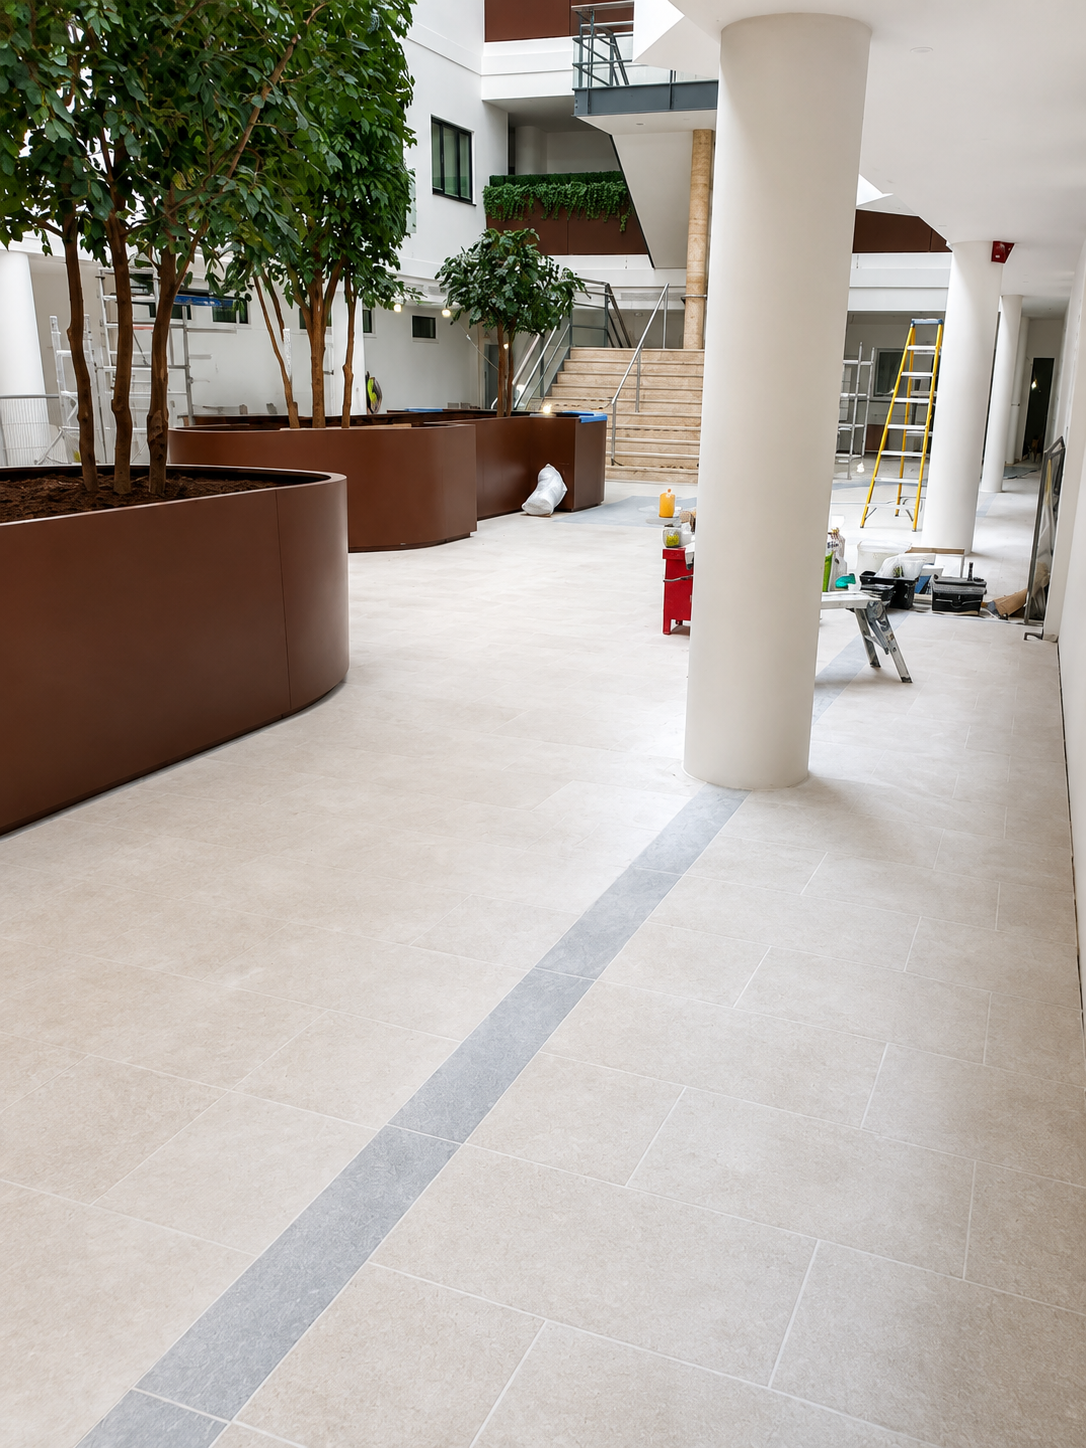
Large-format porcelain is increasingly used in modern essex bathrooms, kitchen extensions and open-plan ground floors where clients want fewer grout lines. Those spaces often include long sight lines, large windows and strong directional lighting, all of which make unevenness easier to see.
Spending time on preparation and layout therefore has a direct visual benefit rather than being invisible technical work. KB Tiling Essex works with domestic and commercial tiling projects across Chelmsford, Essex and surrounding areas, so local planning is less about inserting place names into a page and more about understanding the practical conditions of real properties and sites. If you are comparing options for large format tile installation, use local examples as context, but make the final decision around your own substrate, tile, room and specification.
Frequently asked questions about large format tile installation
What counts as a large-format tile? There is no single homeowner definition, but the term generally covers tiles large enough that handling, substrate flatness and adhesive coverage become more demanding than with traditional small formats.
Do large tiles make a small room look bigger? They can create a calmer surface with fewer joints, but the effect depends on layout, cuts, colour and the proportions of the room.
Are large-format tiles harder to install? Usually. Their size and weight make preparation, cutting, lifting and achieving consistent coverage more demanding.
Do I need a tile levelling system? It can be useful for controlling adjacent edges, but it is an aid rather than a substitute for a flat substrate and correct fixing technique.
How much waste should I allow? The allowance depends on layout, tile size, breakage risk and future spare requirements. Complex rooms and directional patterns usually justify more contingency.
Final planning checklist
Before committing to the work, review the project in one pass. Confirm the substrate, tile specification, layout, preparation, installation materials, grout or joint details, access and programme. If the project involves large format porcelain tiles, large tiles installation or tile levelling system, make sure those choices are reflected in the written scope rather than left as verbal assumptions. Keep product names and batch information where relevant, retain a small project record, and store sensible spare material after completion. These simple habits make future maintenance or local repairs much easier.
SEO searches often reduce a tiling decision to one phrase, but a real installation is always more specific. Someone searching for large format tile installation may be asking about cost, suitability, preparation, appearance or long-term maintenance at the same time. The best answer is therefore the one that connects those questions instead of repeating a keyword. Use this guide as a framework, then confirm the exact method for your room with the installer and the manufacturers of the products being used.
One useful point to pause on is any detail that changes the proposed system rather than just the appearance. If you discover assuming levelling clips will fix a wavy wall or floor, if the chosen product changes, or if the answer to “How flat does the substrate need to be for this tile?” is uncertain, get that clarified before continuing. The same applies when large format porcelain tiles or large format floor tiles introduces a requirement that was not part of the original brief. A short delay to confirm the substrate, product data or finished level is usually easier to manage than removing completed work later. Keep decisions proportionate: not every small variation needs a redesign, but anything affecting adhesion, movement, waterproofing, safety, access or the visible setting-out deserves an explicit decision and, where relevant, confirmation from the product manufacturer.
Final word